Webflow Tutorials
March 13, 2025

How to Replace an Image in a Webflow Template: A Step-by-Step Guide

Professional viewing Silv Template’s Genix Webflow template on a laptop. A visual representation of customizing a Webflow template.

Updating images in your Webflow template is a simple but essential step in customizing your website. Whether you're replacing placeholder images with your brand visuals or updating outdated graphics, knowing how to swap images efficiently will save you time and ensure a seamless design. In this step-by-step guide, we’ll walk you through the entire process—from selecting an image in the Webflow Assets panel to successfully replacing it on your live template.
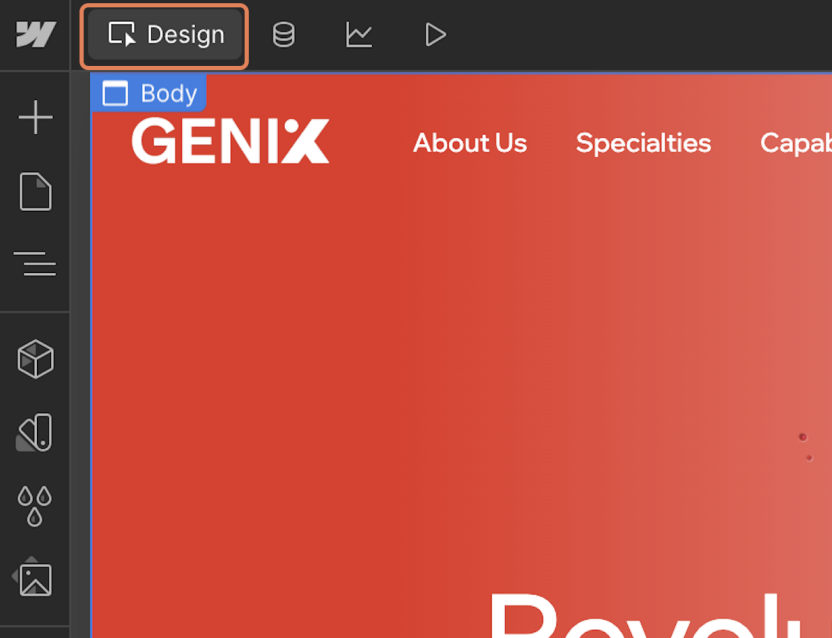
STEP 1:

Before starting, make sure you are working in the Webflow "Design" mode.
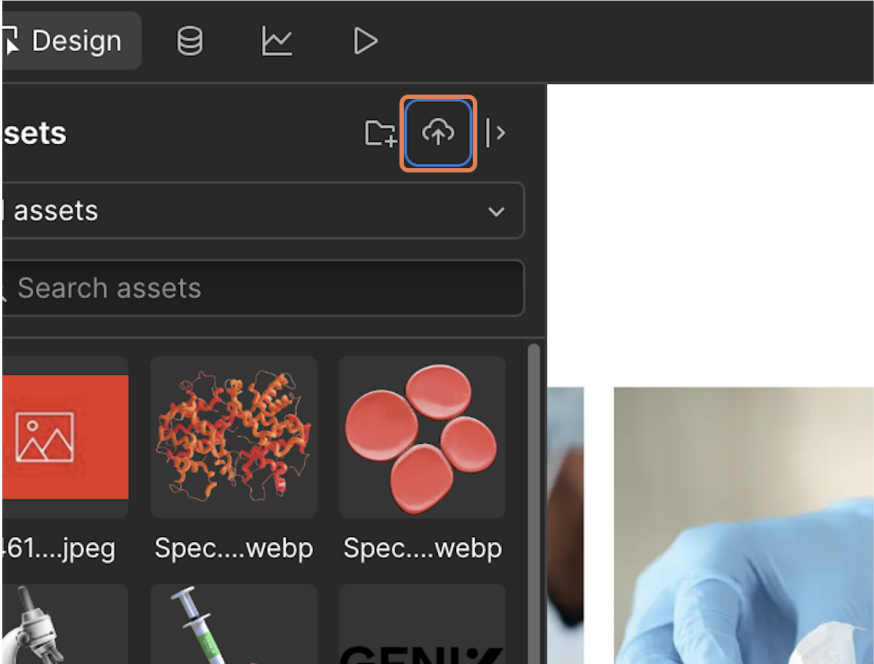
Webflow interface highlighting the 'Design' mode button. Ensure you are in Design mode before editing a Webflow template.
Image: Editing Silv Templates’ Genix Webflow Template in Design mode.

STEP 2:

Click on Assets (J) from the left-side panel.

Webflow interface with the Assets (J) panel highlighted. Click on the Assets panel to manage and upload images in your Webflow template.

STEP 3:

Select the image file from the upload menu that you want to use to replace the existing placeholder image in the Webflow template.

Webflow Assets panel with the upload button highlighted. Select an image from the upload menu to replace the placeholder image in your Webflow template.

STEP 4:

Click on the existing placeholder image in the Webflow template that you want to replace.

Webflow editor highlighting a placeholder image. Click on the existing image in your Webflow template to replace it with a new one.

STEP 5:

Click on the Gear Icon (Element Settings).
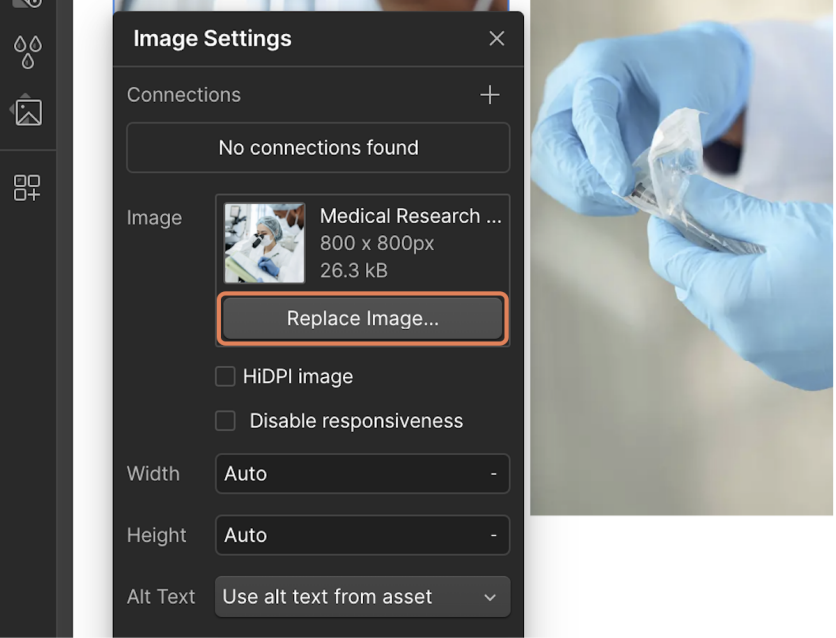
Webflow interface highlighting the gear icon for Element Settings. Click the gear icon to open settings for the selected image in your Webflow template.

STEP 6:

Click on Replace Image...
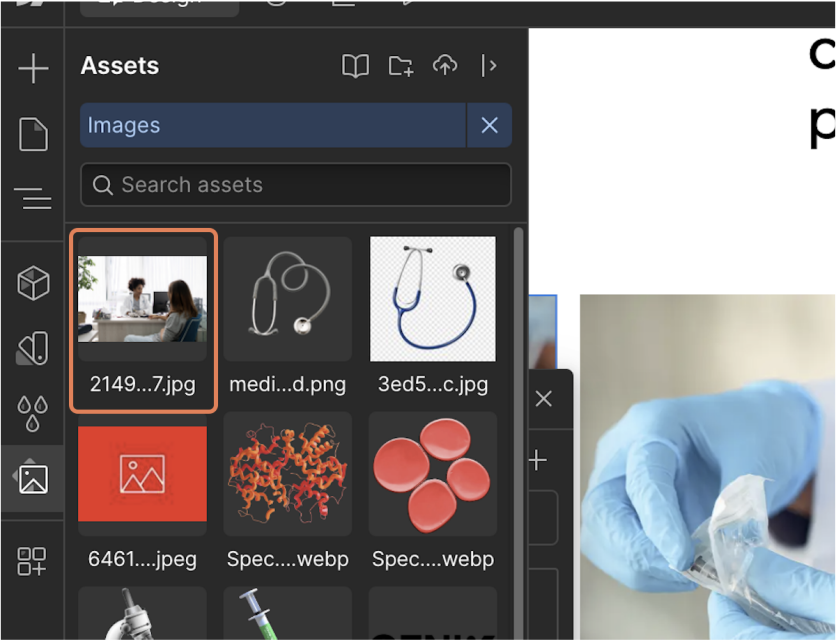
Webflow Image Settings panel with the 'Replace Image' button highlighted. Click 'Replace Image' to upload a new image in your Webflow template.

STEP 7:

Click on the image you want to use.
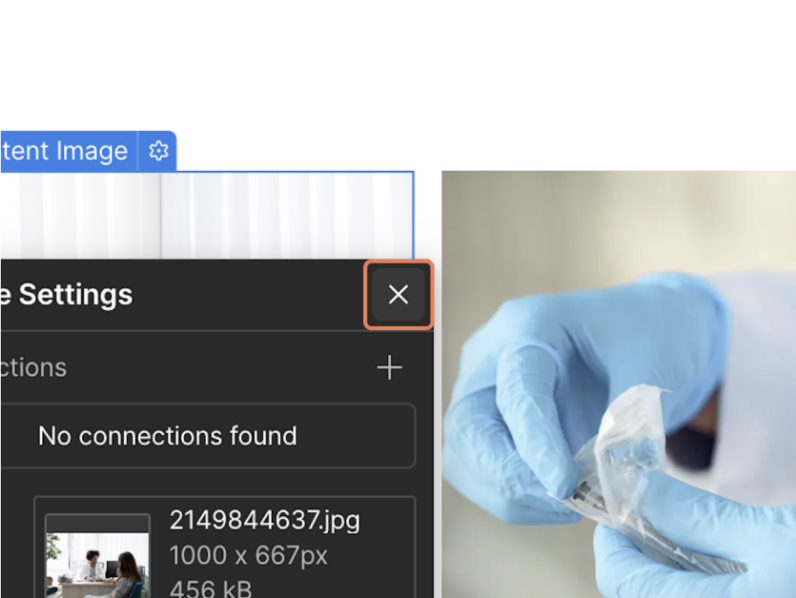
Webflow Assets panel with an image selected. Click on the image you want to use to replace the placeholder in your Webflow template.

STEP 8:

Click on Close.

Webflow Image Settings panel with the close button highlighted. Click the close button to exit the Image Settings panel after replacing the image.

STEP 9: Image Successfully Replaced

You have now successfully updated the image on your Webflow template!

Webflow template displaying the newly replaced image. The image update process is complete, successfully replacing the placeholder in Webflow.

And that’s it! You’ve successfully replaced an image in your Webflow template. By following these steps, you can easily swap out placeholder images and customize your site to match your brand’s identity. If your new image isn’t updating, try refreshing the page or clearing your browser cache. Need more customization tips? Check out our other Webflow guides for expert advice on building and optimizing your site.

Explore More Webflow Templates

Looking for high-quality Webflow templates? Browse our collection of professionally designed templates to create stunning websites with ease. No coding required!